
One of the most fundamental ways to monetize your Roblox experience is by selling Game Passes. A game pass is a one-time purchase that gives a player a permanent special privilege or item within your game, like access to a VIP area, a special weapon, or a cosmetic effect.
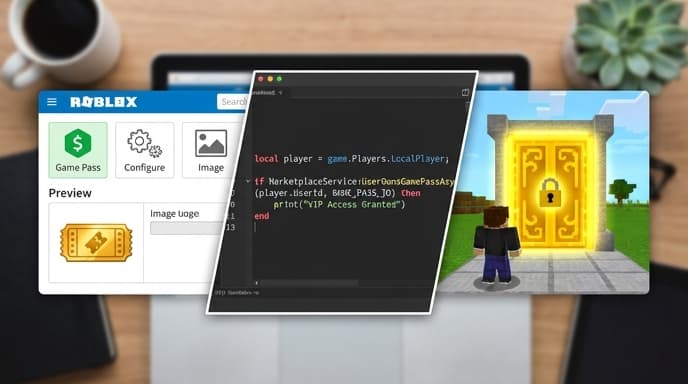
This guide will walk you through the entire process, from creating the game pass on the Roblox website to writing the script that makes it work inside your game. We'll use a classic example: making a VIP door that only opens for players who have purchased the pass.
Part 1: Creating the Game Pass on the Website
Before you can script anything, you need to create the game pass item itself. This is done through the Roblox Creator Dashboard, not in Roblox Studio.
- Navigate to the Creator Dashboard: Go to the Roblox website and click on the 'Create' tab in the top navigation bar. This will take you to the Creator Dashboard.
- Select Your Experience: Find the game you want to add a game pass to and click on it.
- Find the Passes Section: In the left-hand navigation menu for your experience, look for 'Monetization' and under that, click on Passes.
- Create a New Pass: Click the 'Create a Pass' button. You will be prompted to upload an image for your pass icon, give it a name (e.g., 'VIP Access'), and write a description. Make the name and description clear so players know exactly what they are buying.
- Set the Price: After creating the pass, it will appear in your list as 'Off Sale'. Click on the pass, then select 'Sales' from the left menu. Toggle the 'Item for Sale' option on and enter the price in Robux you want to charge. Roblox takes a percentage of the sale as a fee.
- Get the ID: Once your pass is for sale, go back to its main page. Look at the URL in your browser's address bar. It will look something like `roblox.com/game-pass/12345678/VIP-Access`. That number is your Game Pass ID. Copy it and save it somewhere safe. You will need it for the script.
Part 2: Scripting the Game Pass in Roblox Studio
Now that the pass exists, let's make it do something. We'll create a simple VIP door that becomes transparent and allows players with the pass to walk through.
- Build the Door: In your Roblox Studio project, create a new Part. Scale it and position it to look like a door blocking a doorway. In the Properties window, name it 'VipDoor', set its `Anchored` property to true, and give it a distinct color.
- Add the Script: Insert a new Script into the 'VipDoor' part, just like in the color-changing block tutorial. Delete the default 'Hello world' text.
- Write the Script: Copy and paste the following code into the script editor.
local MarketplaceService = game:GetService("MarketplaceService")local door = script.Parentlocal gamePassID = 12345678 -- IMPORTANT: Replace with your actual Game Pass ID!local function onTouch(otherPart) local player = game.Players:GetPlayerFromCharacter(otherPart.Parent) if player then if MarketplaceService:UserOwnsGamePassAsync(player.UserId, gamePassID) then door.Transparency = 0.7 door.CanCollide = false wait(3) door.Transparency = 0 door.CanCollide = true end endenddoor.Touched:Connect(onTouch)
Code Breakdown:
- `local MarketplaceService = game:GetService("MarketplaceService")`: This gets a special Roblox service that lets us check for purchases.
- `local gamePassID = 12345678`: This is the most important line to change. Replace the number with the actual ID you copied from the website.
- `door.Touched:Connect(onTouch)`: This line listens for when something touches the door. When it happens, it runs the `onTouch` function.
- `MarketplaceService:UserOwnsGamePassAsync(...)`: This is the key function call. It checks with Roblox's servers to see if the player who touched the door actually owns the game pass. It returns `true` or `false`.
- `door.CanCollide = false`: This property determines if players can walk through the part. We set it to false to let them pass.
FAQ
What's the difference between a Game Pass and a Developer Product?
A Game Pass is a one-time purchase for a permanent benefit. A Developer Product is a consumable item that can be purchased over and over again, like a cash bundle in a simulator or a potion.
How do I test my game pass script if I'm the creator?
When you test your game in Studio, the script will work for you automatically because creators are considered to own their own game passes for testing purposes. You don't need to buy it yourself to test it.
Why use `UserOwnsGamePassAsync`?
The 'Async' part means it's an asynchronous call. It might take a moment to get a response from the Roblox servers. This function is the modern, correct way to check for ownership and is designed to not slow down your game while it waits for an answer.
Key Takeaways
- Game Passes are created and managed on the Roblox website's Creator Dashboard, not in Studio.
- Each game pass has a unique ID, which you must use in your script to identify it.
- In-game, use a Script with `MarketplaceService` to check if a player owns a specific game pass.
- The `UserOwnsGamePassAsync` function is the standard way to verify a purchase.
- You can tie a game pass to any benefit, such as unlocking doors, granting special gear, or providing cosmetic effects.
Related Reading
- Understanding Roblox Premium Payouts: How Your Game Can Earn Robux
- Roblox Scripting Basics: Make Your First Part Change Color
- A Creator's Guide to AI-Generated Clothing Textures for Roblox