
Seeing your own design on another player's avatar is one of the most rewarding experiences on Roblox. Creating and selling classic clothing items like shirts and pants is the perfect entry point for aspiring creators. It doesn't require complex 3D modeling or scripting, and it's a direct path to earning your first Robux.
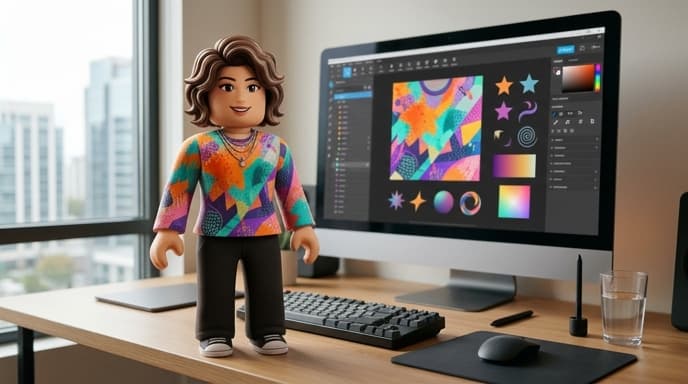
This guide will walk you through every step of the process, from finding the official templates to uploading your finished design to the Marketplace. You'll learn what you need to get started, how to create your item, and how the sales process works.
What You Need Before You Start
Before you jump into designing, there are a couple of things to know. The requirements can change, so always check the official Roblox Creator Hub for the latest details.
- A Design Program: You don't need expensive software. Any 2D image editor that can work with layers will do, such as GIMP or Photopea (which are free) or Adobe Photoshop.
- The Official Templates: Roblox provides specific image templates that you must use for your designs to map correctly onto an avatar's body.
- An Upload Fee: There is typically a fee in Robux to upload each clothing item to the Marketplace. This helps prevent spam and low-quality submissions. The exact amount can vary, so check the upload page for the current cost.
Step 1: Download the Official Roblox Clothing Templates
Your first stop is the Roblox Creator Hub. Search for "Classic Clothing" or "clothing templates." You will find two key template files, one for shirts and T-shirts, and one for pants.
These templates are image files (usually PNGs) that look like unwrapped pieces of a character model. Each colored section corresponds to a different part of the avatar, like the torso, left arm, and right arm. It's crucial to use these so your design appears correctly in-game.
Step 2: Designing Your Item in an Image Editor
Once you have the templates, it's time to get creative. Open the template file in your chosen image editing program.
- Create a New Layer: Always create a new layer for your design above the template layer. This allows you to draw and place images without destroying the original template layout. You can see the template underneath to guide your work.
- Start Designing: Use the template's colored blocks as a guide. The large central area is the front and back of the torso, while the other pieces are for the arms and their sides. You can use brushes, add text, import patterns, or paste in graphics.
- Handle Transparency: If you want parts of your clothing to be transparent (like a T-shirt with no sleeves), make sure the corresponding areas on your design layer are erased or transparent.
- Export Your Design: When you're finished, hide or delete the original template layer so only your design is visible. Export the file as a PNG. The dimensions should match the original template (for example, 585x559 pixels).
A Quick Note on AI: You can use AI image generators to create patterns or textures, but be very careful. Ensure your creations are original and do not violate Roblox's terms of service or anyone's copyright. Roblox's moderation system will review all uploads.
Step 3: Uploading to the Roblox Marketplace
With your PNG file ready, head back to the Roblox website and find the "Create" tab. From there, navigate to "Avatar Items" and select the appropriate item type (e.g., "Shirt").
Here you will be prompted to:
- Upload your file: Select the PNG you just created.
- Name your item: Give it a clear and descriptive name.
- Add a description: Explain what your item is.
- Set the price: After uploading, you can put the item on sale. You will set a price in Robux.
After you upload and pay the fee, your item will be sent for moderation review. Once approved, it will appear on the Marketplace for other players to buy!
Understanding Fees, Pricing, and Getting Paid
When you sell an item, you don't receive 100% of the sale price. Roblox takes a percentage as a platform fee. The remaining Robux are held in a pending status for a period of time before they are released to your account balance.
You can adjust the price of your item at any time. Finding the right price is a balance between what you think your design is worth and what players are willing to pay. Researching similar items on the Marketplace can help you decide.
Frequently Asked Questions
Do I need Roblox Premium to sell clothes?
Historically, a Premium subscription was required to sell items. Roblox policies change, so always verify the current requirements on the official Creator Hub before you start.
Why was my clothing item rejected?
Items can be rejected by moderation for several reasons, including containing inappropriate imagery or text, infringing on someone else's copyright, or being uploaded incorrectly. Review the moderation rules if your item is denied.
How long does it take to get my Robux?
Robux from sales are held in a pending state, often for several days, before being transferred to your account. This is an anti-fraud measure. The exact holding period can be found in the Roblox documentation.
Can I make 3D clothing (UGC)?
Yes, but creating 3D layered clothing and accessories is part of the UGC (User-Generated Content) program, which has different requirements and is a more advanced process than creating classic shirts and pants. Starting with 2D clothing is the best way to learn.
Key Takeaways
- Start by downloading the official clothing templates from the Roblox Creator Hub.
- Use any image editor to create your design on a new layer above the template.
- Export your final design as a PNG with a transparent background, matching the template dimensions.
- Upload your item through the Roblox 'Create' page; be prepared for an upload fee.
- Roblox takes a percentage of each sale, and earned Robux are held in a pending status before release.
Related Reading
- How to Earn Robux: The Complete Guide to Legitimate Methods
- An Introduction to Roblox Studio for Beginners
- What Are Roblox Game Passes and How Do They Work?