
Creating and selling your own items on the Roblox Marketplace is one of the most direct ways to start earning Robux. It can seem complex, but the process for a classic t-shirt is a perfect entry point for any aspiring creator. This guide will take you from the official template to your first item listing, step by step.
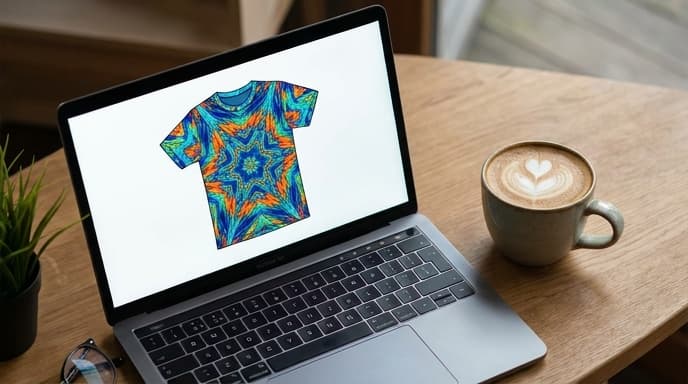
You don't need to be a professional artist. A simple, clever design can sell just as well as a complex one. The goal here is to learn the workflow, get your first item on the market, and understand how the system works.
Find and Download the Official Clothing Template
Before you can design anything, you need the right canvas. Roblox provides official templates for all clothing items to ensure they map correctly onto an avatar's body. Using this template is not optional; it's the required format for uploads.
You can find these templates on the Roblox Creator Hub. Search for 'classic clothing templates' to find the official page. For this guide, download the template for the t-shirt. It will be an image file (usually a PNG) that looks like a flattened-out collection of squares. These squares represent the front, back, and sides of an avatar's torso.
Design Your T-Shirt
Open the template file in any image editing software. This could be anything from Adobe Photoshop to free web-based tools like Photopea or Canva. The key is that it must be able to work with layers.
Your design goes on the front-facing square of the template. Here are the steps:
- Create a new layer: Do not draw directly on the template layer. Create a new, transparent layer on top of it. This allows you to work without damaging the original template layout.
- Find the front: The template is usually labeled, but the large, square-ish section is the front of the torso. This is where your main graphic will go.
- Add your design: You can create a graphic, add text, or use a texture. For your first item, keep it simple. A logo, a funny phrase, or an interesting pattern is a great start. Make sure your design stays within the boundaries of the torso area on the template.
- Export your file: Once you're happy with the design, hide the original template layer so only your design is visible on a transparent background. Export the image as a PNG file. Roblox requires specific dimensions, which are typically 585 pixels wide by 559 pixels tall for classic clothing, but always check the Creator Hub for the latest requirements.
Upload Your Design to Roblox
With your PNG file ready, it's time to upload it. Navigate to the Create section on the Roblox website, which may now be called the Creator Hub. Look for the asset creation or avatar items tab.
You'll be prompted to select the asset type (T-Shirt) and upload your file. You will also need to give your item a name and description. Choose a name that is clear and descriptive, as this is how people will find it in the Marketplace.
Be aware that there is typically an upload fee in Robux. This fee is subject to change, so check the upload page for the current cost. This fee helps prevent spam and ensures creators are serious about their submissions. After you pay the fee, your item will be submitted for moderation review.
Set Your Price and Sell
Once your t-shirt passes moderation (which usually takes a short amount of time), it will appear in your creations inventory. It is not for sale yet. You have to take one final step to list it on the Marketplace.
Find the item in your creations and click the 'Configure' option. Here, you'll find a 'Sales' tab. You can toggle the item to be 'On Sale' and set your price in Robux. Roblox will show you how much you will earn after their commission, known as the Marketplace Fee. The percentage of this fee can change, so the interface is the best source for the current rate. Once you save, your t-shirt is officially for sale on the Roblox Marketplace.
Frequently Asked Questions
How much does it cost to upload a t-shirt to Roblox?
There is an upload fee paid in Robux. This amount can change, so always check the official Creator Hub upload page for the most current fee before you begin.
How do I get the Robux from my sales?
When an item sells, the Robux earned (after the Marketplace Fee) is held in a pending status for a period of time. After this escrow period, the Robux is added to your account balance.
Can I sell a t-shirt for free?
No, there is a minimum price you must set for items on the Marketplace. This is to maintain the value of items and the economy. The minimum price is displayed when you set your item for sale.
What happens if my design is rejected by moderation?
If your item doesn't pass moderation, you'll be notified. This usually happens if the design violates Roblox's Community Standards, such as using copyrighted material or inappropriate imagery. The upload fee is generally not refunded.
Key Takeaways
- Always use the official clothing templates from the Roblox Creator Hub for your designs.
- Design on a separate layer in your image editor to protect the original template.
- Uploading an item to Roblox requires a fee paid in Robux, which is subject to change.
- After passing moderation, you must manually put the item on sale and set a price.
- Roblox takes a commission, the Marketplace Fee, on all sales. Your potential earnings are shown when you set the price.
Related Reading
- A Creator's Guide to AI-Generated Clothing Textures for Roblox
- How to Earn Robux With Developer Products in Your Roblox Game
- Understanding Roblox Premium Payouts: How Your Game Can Earn Robux